How to Enable Countdown on Wedding Website
How to set your wedding date and enable the countdown section on your Married Next wedding website.
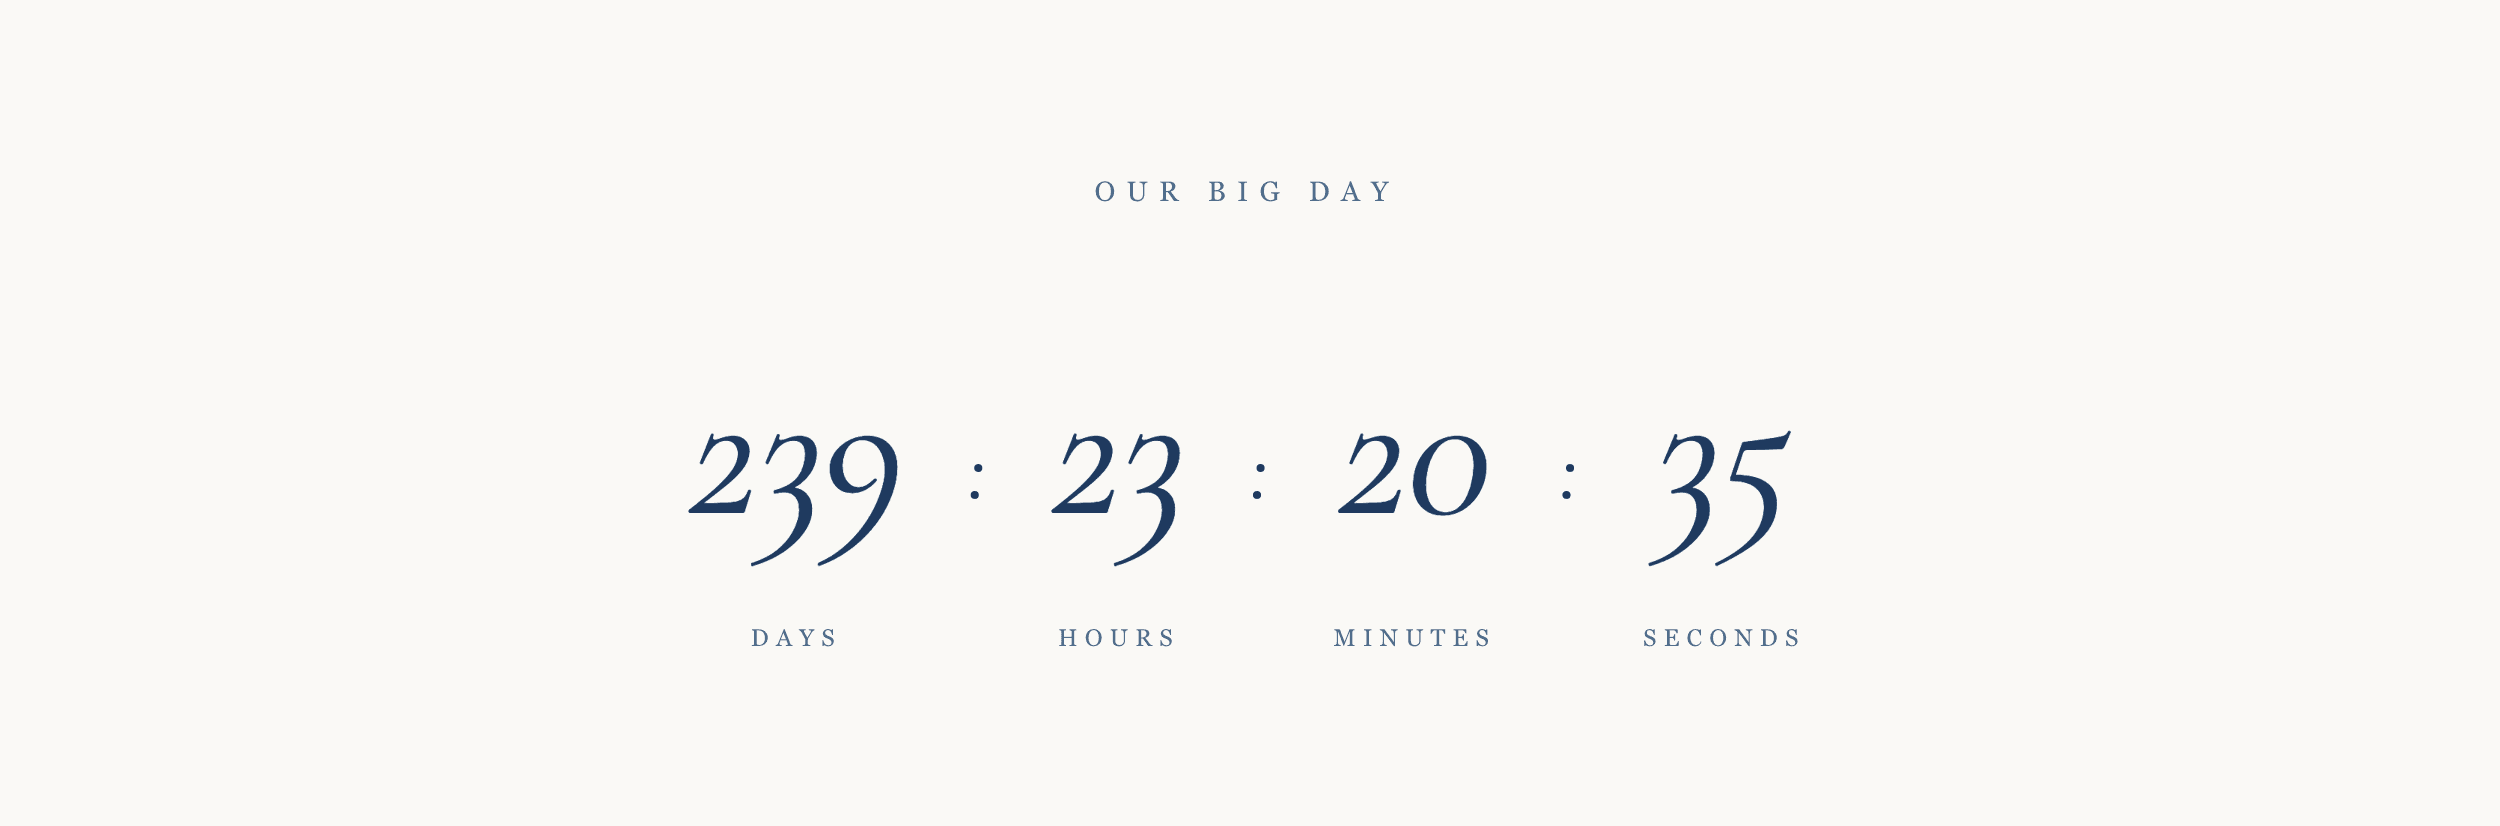
If your countdown is disabled, you may need to set a date for your wedding; or the section in the Website builder is marked as hidden. This guide will walk through how to fix both.
How to set wedding date
-
Sign into your Married Next account at https://marriednext.com
-
Navigate to your wedding settings at https://marriednext.com/engaged/wedding#date-time
-
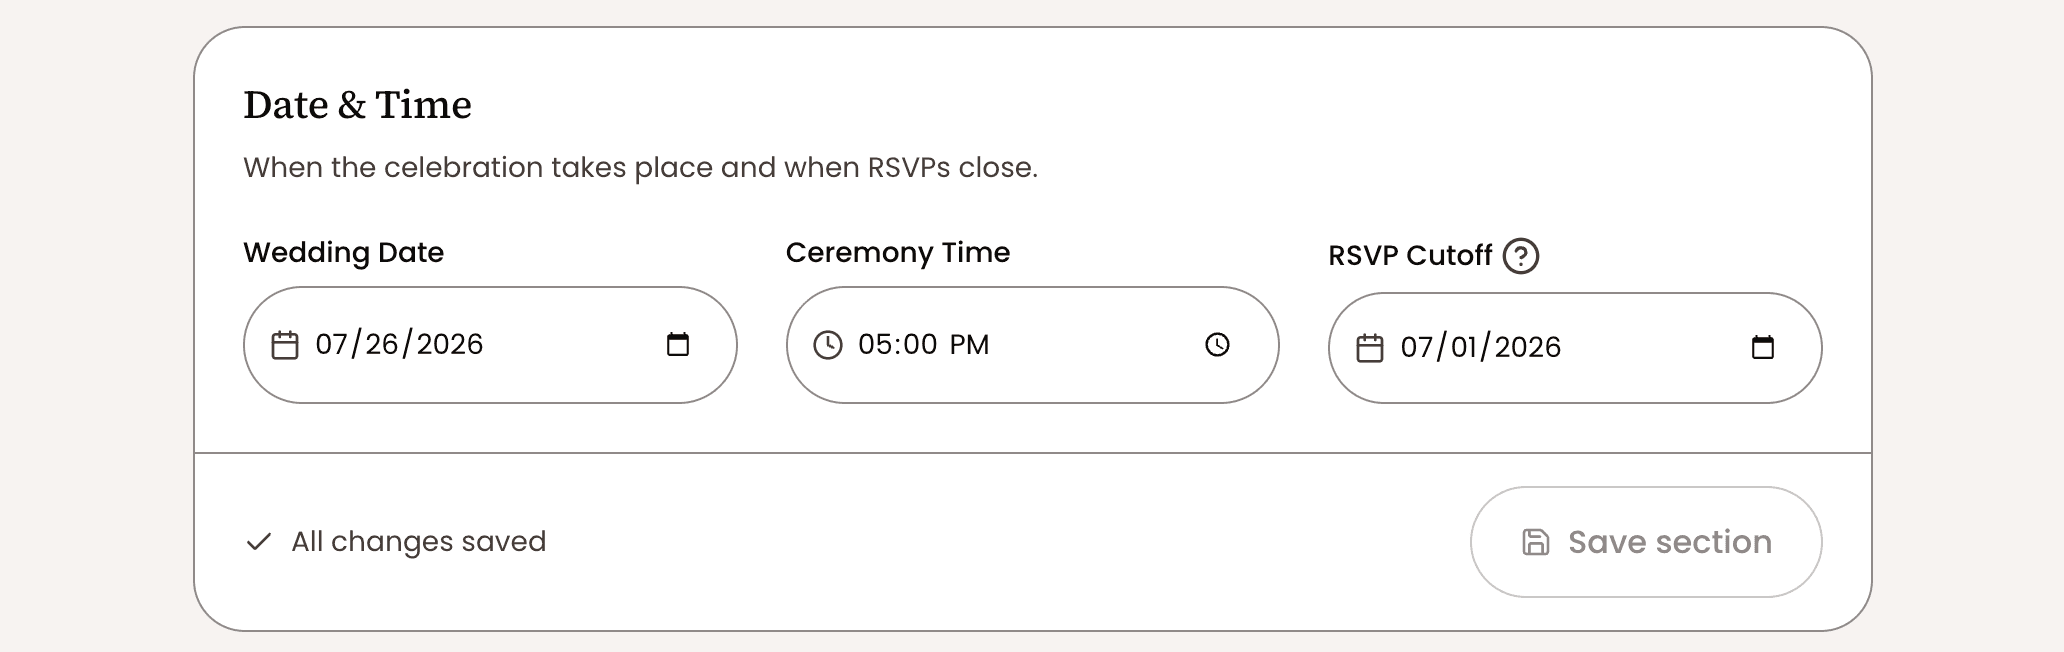
Set the “Wedding Date” and optionally the “Wedding Time” fields, then select the “Save changes” button.
Read more about the RSVP Cut Off date here.
Your countdown should now be displayed on your website. To confirm, or to enable the countdown section on your wedding website:
-
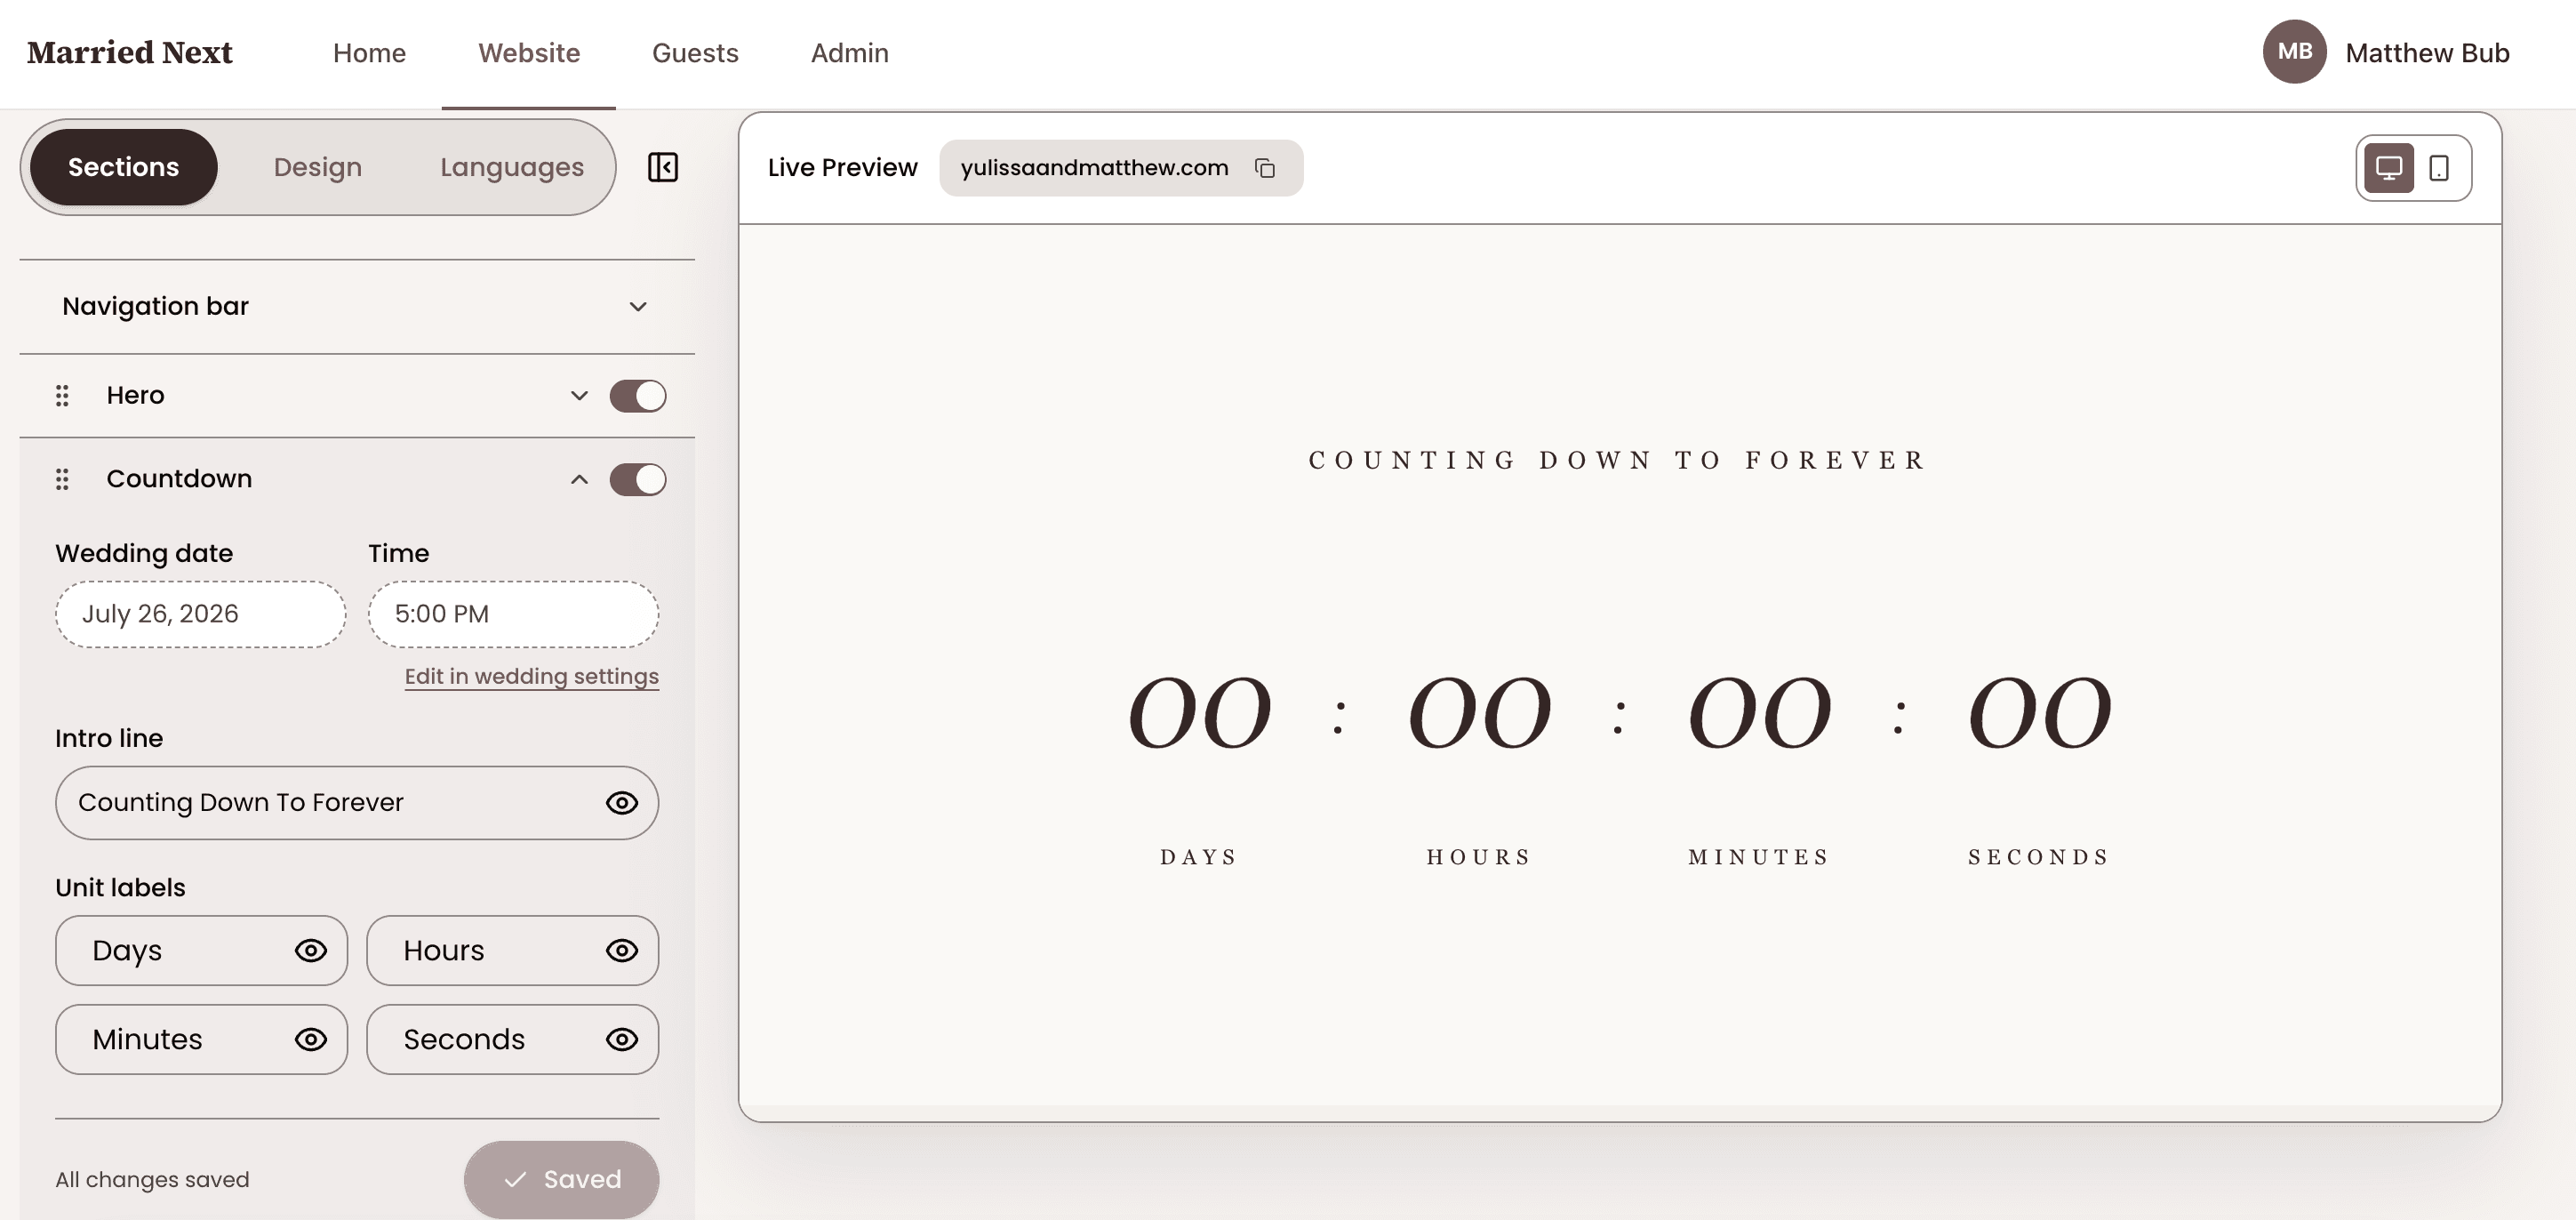
Select the “Website” menu item from the navigation menu or navigate to https://marriednext.com/engaged/website
-
Ensure the “Countdown” section is enabled.
That’s it - your countdown is now live. Guests visiting your wedding website will see the days ticking down to your big day, and it will keep itself up to date automatically. If you ever change your wedding date, the countdown follows along.
Tags
- guide
- countdown
- wedding-website